Wall pushups are a gentler alternative to traditional floor pushups that still engage the same muscle groups. They’re useful if you can’t yet do a standard pushup with correct technique or need to reduce stress on your wrists.
Pushups rank among the most efficient bodyweight movements to include in your workouts.
They work the arms, chest, back, and shoulders, and require a fair degree of strength to complete multiple repetitions with good form.
If regular pushups on the floor are challenging for you, wall pushups are an excellent introductory option. By using a wall, you reduce the load, which lets you build strength, refine your technique, and progress toward full pushups.
This piece outlines the advantages of wall pushups, the muscles they engage, how to perform them safely, and some variations to try.
Benefits of wall pushups
Wall pushups are ideal for beginners who haven’t yet developed the strength for a full pushup. Pushing from the wall decreases the effect of gravity, making the movement easier to execute (1).
That said, wall pushups still provide meaningful benefits. They mimic the pushup pattern and activate the same primary muscle groups, making them a useful way to learn the movement (1).
With consistent practice, wall pushups can prepare you to perform conventional pushups with better technique. Unless you have a condition such as shoulder impingement, beginning with wall pushups can help you slow down and concentrate on movement quality (1).
This gradual approach helps you develop a solid mind–body connection and ensures the correct muscles are recruited for the task.
Wall pushups may also benefit people with mild wrist discomfort because there’s less force transmitted through the wrist joint. They can be a more comfortable choice for those with lower back or elbow sensitivities as well.
Whether you perform wall or floor pushups, you’ll strengthen your upper body and often improve posture, which can enhance everyday function.
Summary: Wall pushups are a helpful starting point for beginners or anyone who finds floor pushups hard. They let you work on proper technique while easing the load on your joints.
Muscles used in wall pushups
Although often seen as an upper-body exercise, wall pushups involve multiple muscle groups that help stabilize the body and execute the movement.
The primary muscles engaged during a wall pushup include (2, 3):
- the chest muscles (for example, the pectoralis major and pectoralis minor)
- the serratus anterior
- the triceps
- the deltoids
- the upper and lower back muscles (such as the trapezius and rhomboids, plus the spinal stabilizers)
- the core muscles (including the transversus abdominis, multifidus, obliques, and rectus abdominis)
To a lesser degree, lower-body muscles like the glutes, quadriceps, and calves assist with stability. These muscles support postural control, balance, and overall upper-body mobility.
Summary: Wall pushups primarily target upper-body muscles—chest, arms, and shoulders—while other muscles act as stabilizers.
Are wall pushups easier?
Compared with floor pushups, wall pushups are generally easier because they reduce the amount of bodyweight you must lift against gravity. Standard pushups typically produce higher activation in the pectoralis major and serratus anterior (1, 4, 5).
Still, wall pushups can offer a solid workout.
They serve as a helpful transition for learning proper floor pushup mechanics. They recruit many of the same muscles and often allow you to perform more repetitions before fatigue sets in (1).
Wall pushups also relieve pressure on the wrists and shoulders. Standard pushups place significant stress on extended wrists, which can cause discomfort, particularly for people with weaker wrists (6).
Moreover, doing floor pushups with poor form may lead to inefficient muscle use and potential injury. Modifying the exercise to one you can execute safely is preferable.
Wall pushups are easily adjusted as you gain strength: the nearer your feet are to the wall, the easier; the farther they are, the harder.
Summary: While wall pushups are simpler than traditional floor pushups, they still engage the upper body and can challenge beginners effectively.
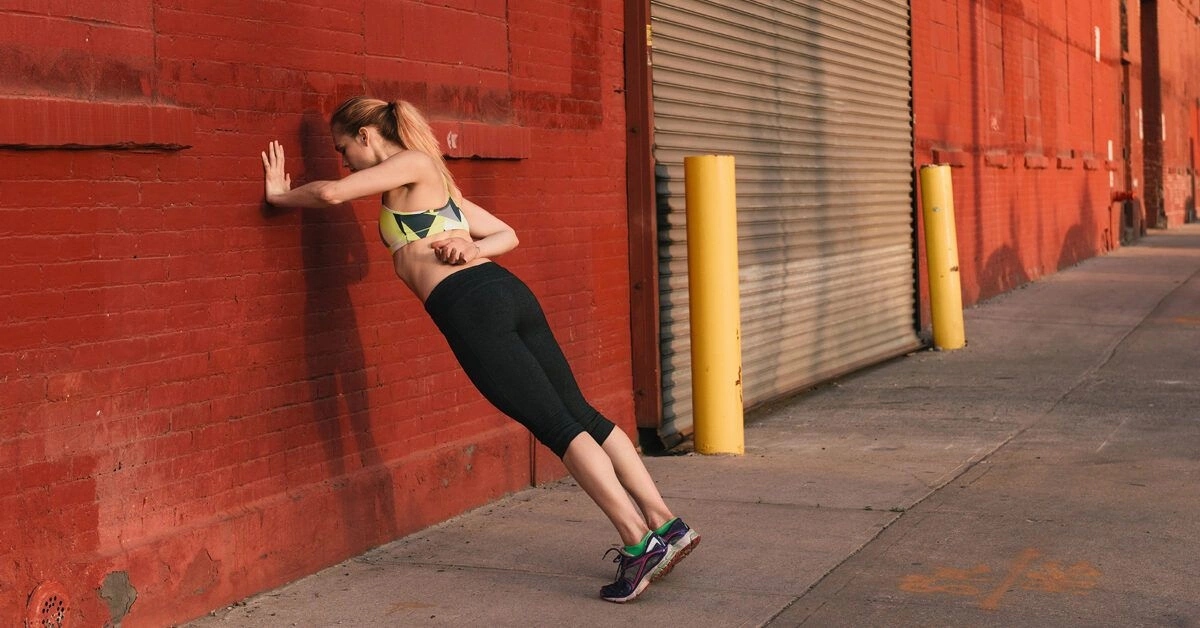
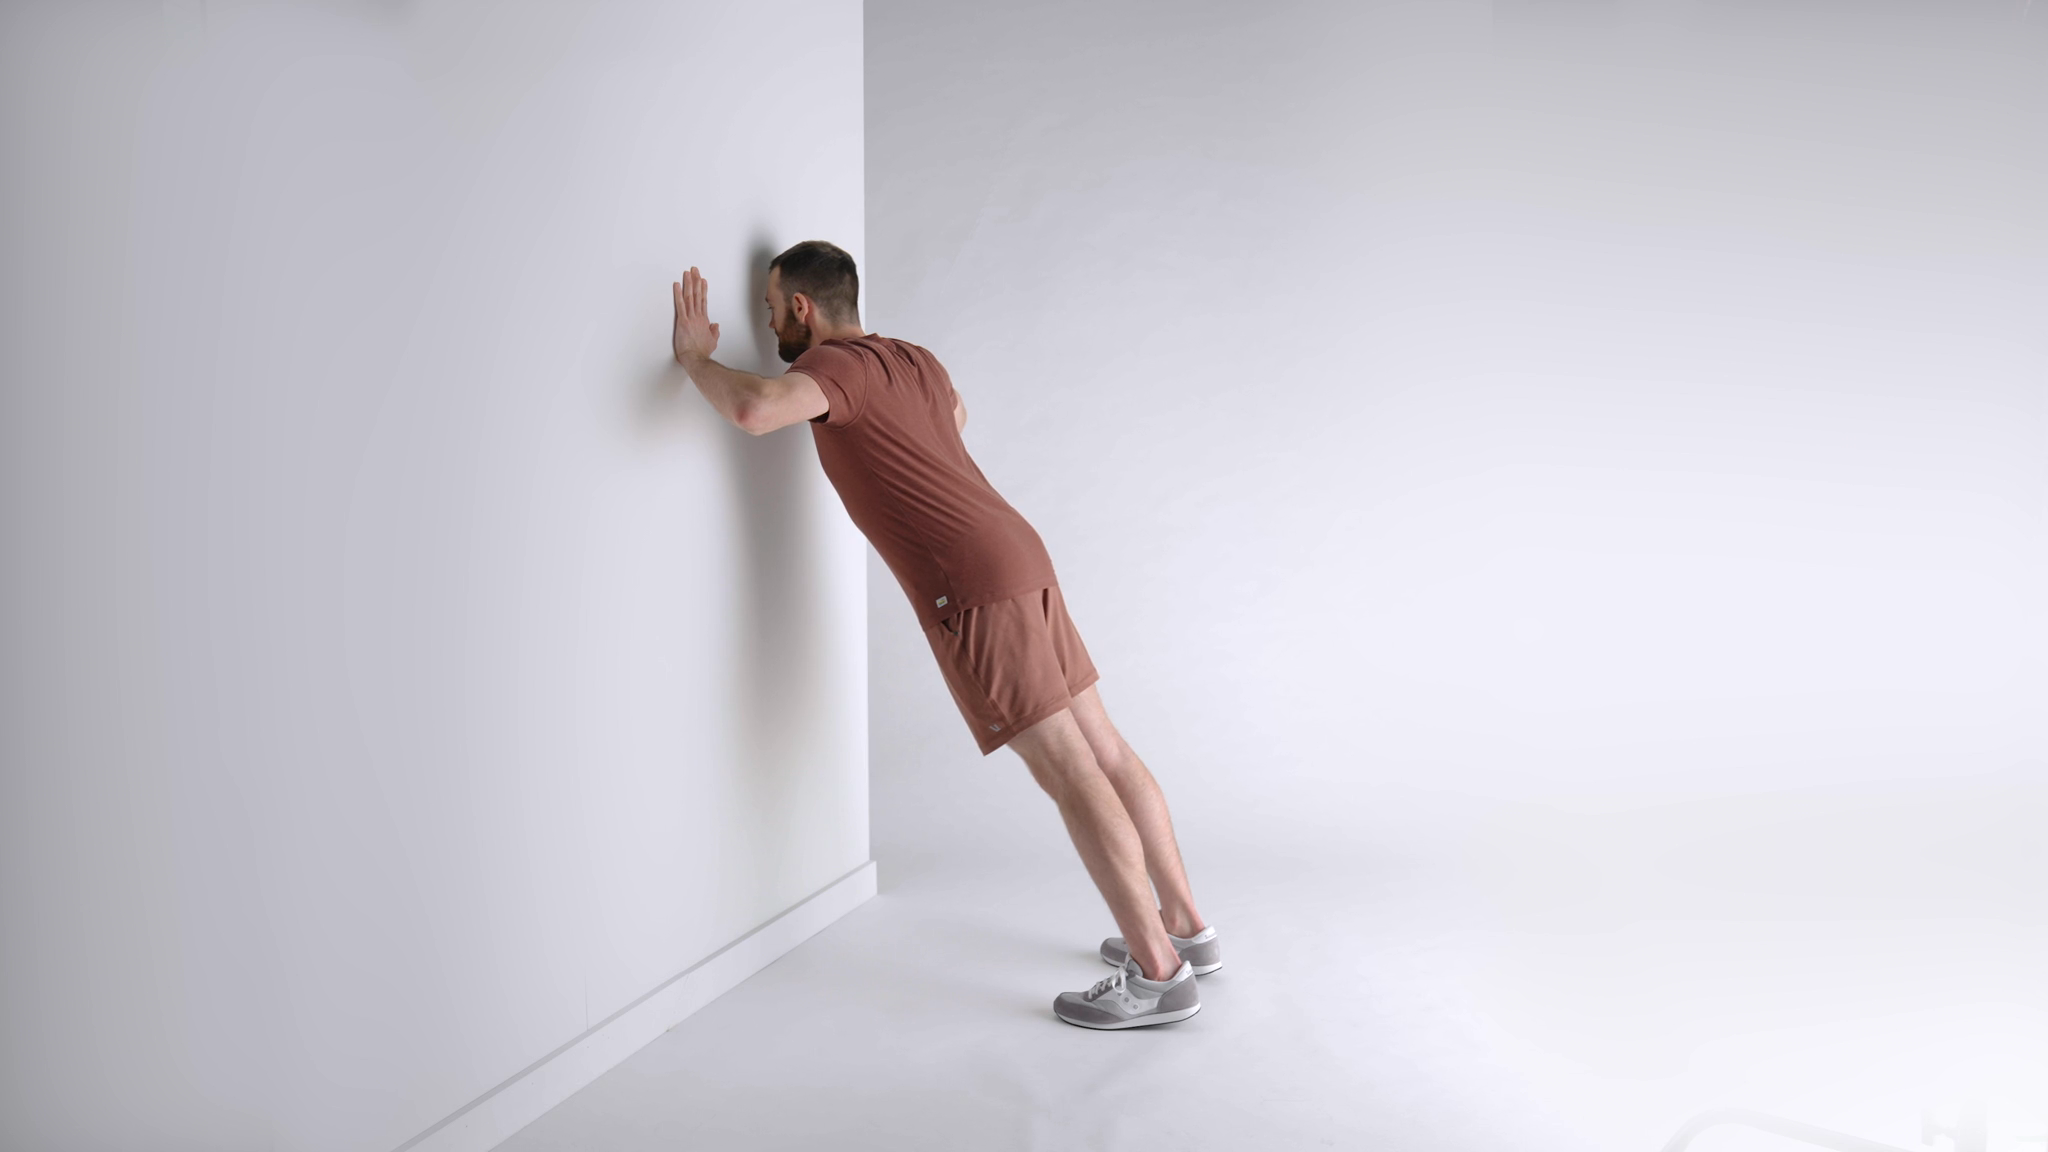
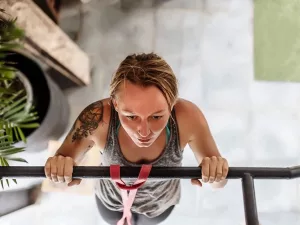
How to do a wall pushup
All you need for wall pushups is a sturdy wall.
- Stand about an arm’s length from the wall with your feet hip-width apart.
- Place both palms on the wall at roughly shoulder height and shoulder-width apart, fingers pointing upward. If it feels like you’re overreaching, step closer to the wall.
- Slowly bend your elbows and lean toward the wall until your nose nearly touches it. Keep a straight back and let your elbows bend at about a 45-degree angle (not flared straight out).
- Gradually push back to the starting position.
Throughout the movement, keep your spine neutral and avoid letting your hips sag forward. Visualize a straight line from the crown of your head down through your back to your feet.
Prioritize slow, controlled repetitions rather than speed. This helps ingrain correct form for a more effective exercise.
You can change the difficulty by moving your feet: placing them farther from the wall increases the portion of bodyweight you must support, making the exercise tougher.
Summary: When doing wall pushups, emphasize correct alignment and deliberate, controlled motion.
Variations on the wall pushup
If you’d like to make wall pushups more challenging, try these variations.
1. Close-hands wall pushup
For this version, bring your palms closer together rather than keeping a wide hand placement. This shifts more emphasis to the triceps and pecs, making the movement harder than a standard wall pushup (3).
- Begin with your feet together, standing about an arm’s length from the wall and arms extended in front of you. Place your palms on the wall at shoulder height but nearly touching, fingers pointing upward.
- With elbows tucked, bend them and lean toward the wall until your nose almost reaches it. Keep your back straight and hips from dropping.
- Push back to the starting position and repeat.
2. One-arm wall pushup
Once you can do multiple sets of regular wall pushups, try a one-arm progression. This unilateral variation trains one side at a time, helping correct strength asymmetries and challenging your core.
- Stand with your feet wide, roughly an arm’s length from the wall. Extend one arm to the wall at shoulder height aligned with your body center; tuck the other arm behind your lower back.
- Bend the elbow of the working arm and lean toward the wall as far as you can while keeping your back straight and hips level. Try to avoid shifting your weight to one side.
- Push back to the starting position.
- Switch arms and repeat.
If you can’t do the same number of reps on each side, that indicates a strength imbalance. Regular practice will help strengthen the weaker side.
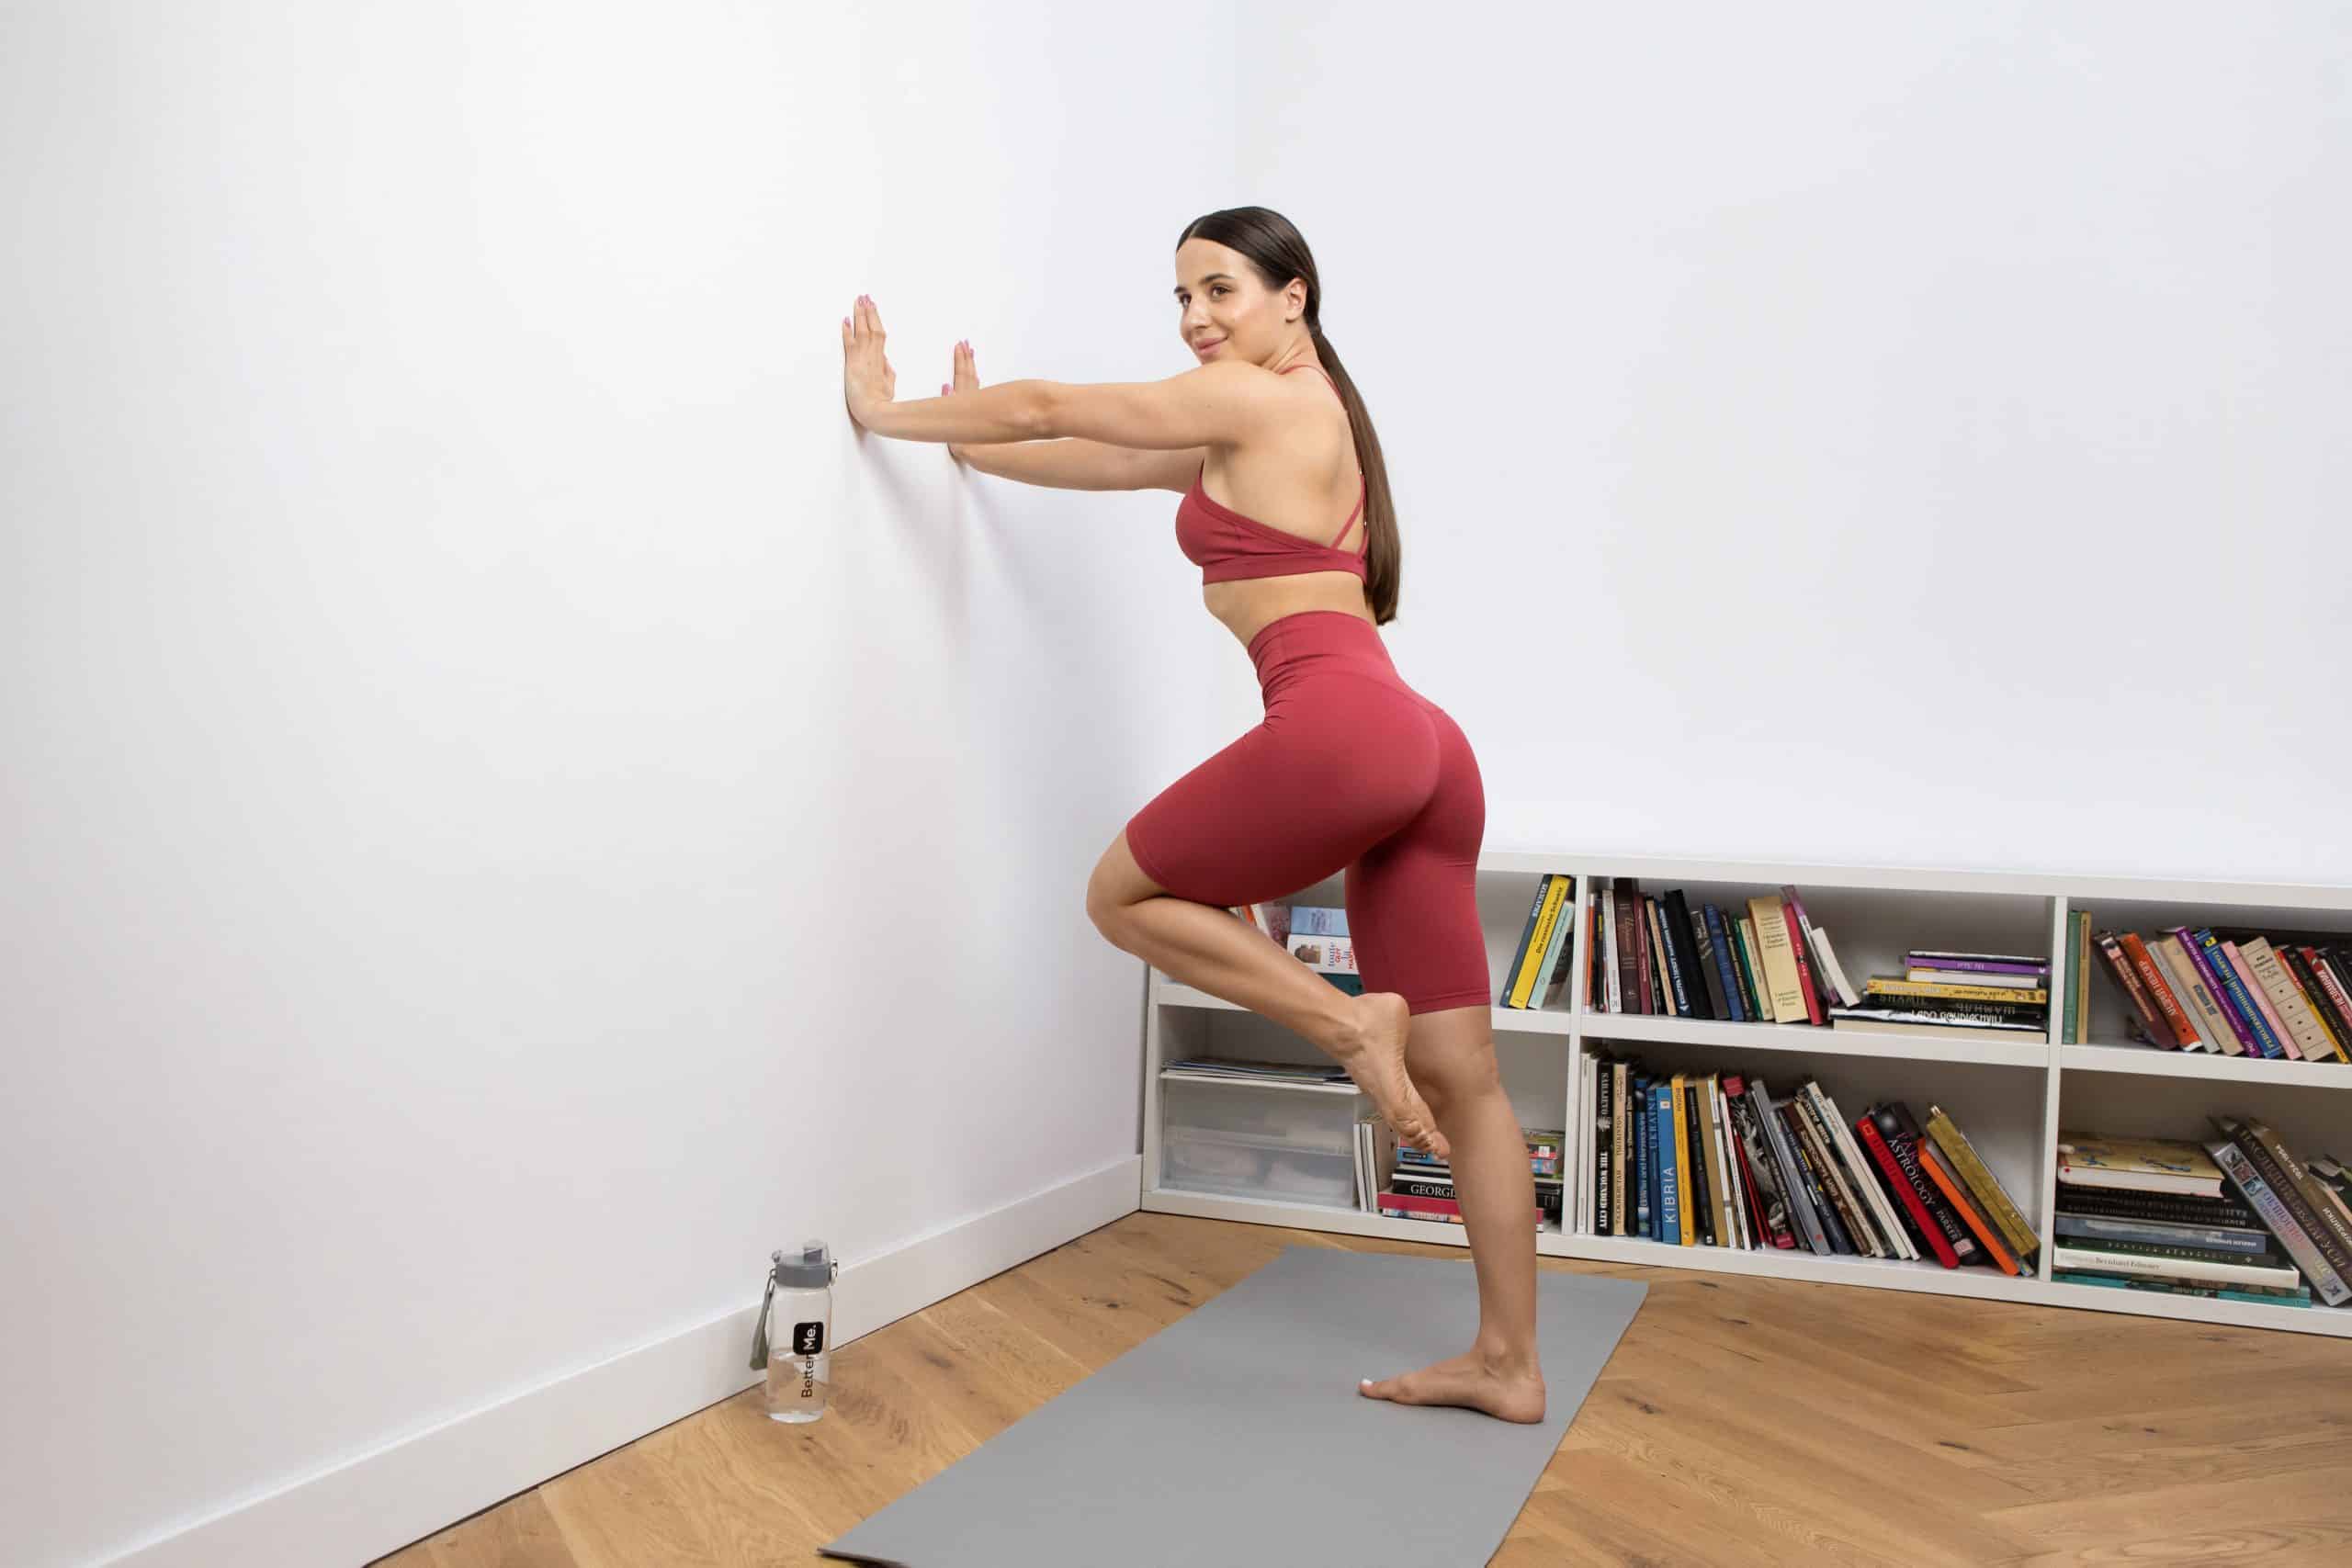
4. One-leg wall pushup
This variation requires extra core stabilization due to standing on one leg. It’s more advanced and best attempted after you’re comfortable with standard wall pushups.
- Stand an arm’s length from the wall with feet hip-width apart.
- Place both palms on the wall at shoulder height and shoulder-width apart, fingers pointing upward. Move your feet closer if needed.
- Raise one leg off the floor behind you.
- Bend your elbows and lean toward the wall until your nose nearly touches it, keeping a straight back and elbows at about a 45-degree angle.
- Slowly push back to the starting position.
5. Feet-on-wall pushup
This is an advanced variation that demands strength and balance. Only attempt if you can perform standard pushups comfortably and safely.
- Begin in a plank on the floor with your feet against the wall.
- Walk your feet up the wall until you reach a comfortable height—parallel to the floor or higher for a decline—which increases difficulty. This is your start position.
- Bend your elbows and lower into a pushup, keeping your back straight and hips steady.
- Push back up to the start.
- Perform as many reps as you can with good form.
The bottom line
If floor pushups are difficult, try performing them against a wall.
Wall pushups are generally easier than traditional pushups but still involve the same main muscle groups. They’re a solid choice if you can’t execute a standard pushup with correct technique or need to reduce wrist strain.
As your wall pushups become easier, experiment with various progressions to continue building strength.


Leave a Reply
You must be logged in to post a comment.