Overview
Many people feel uneasy about professional dental cleanings. Between the poking, unfamiliar sounds, and occasional jaw soreness, it’s understandable why some are anxious. For most patients, however, a cleaning is straightforward and comfortable.
Being familiar with each step of the appointment can reduce anxiety and help you appreciate the clean, fresh outcome.

1. A physical exam
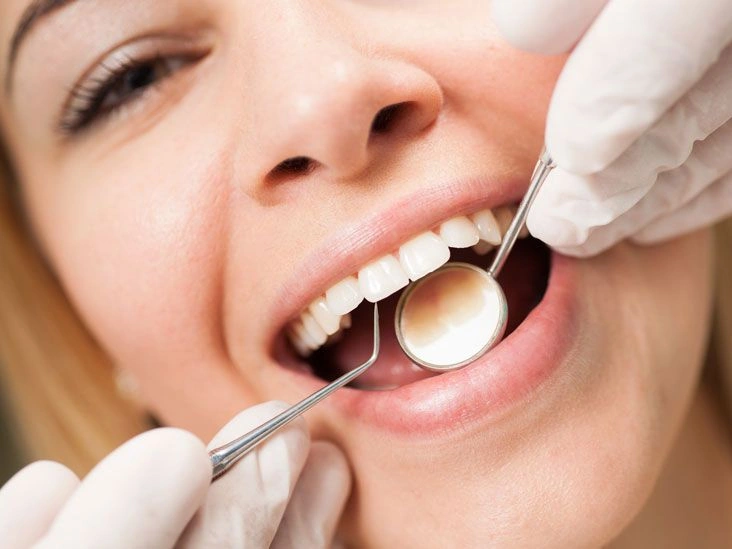
The majority of cleanings are carried out by a dental hygienist. Before any cleaning begins, they perform a quick examination of your entire mouth.
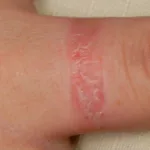
Using a small mirror, the hygienist inspects your teeth and gums for signs of gingivitis (inflamed gums) or other issues that might need attention.
If they notice anything significant, the hygienist may consult the dentist to confirm it’s safe to continue.
2. Removing plaque and tartar
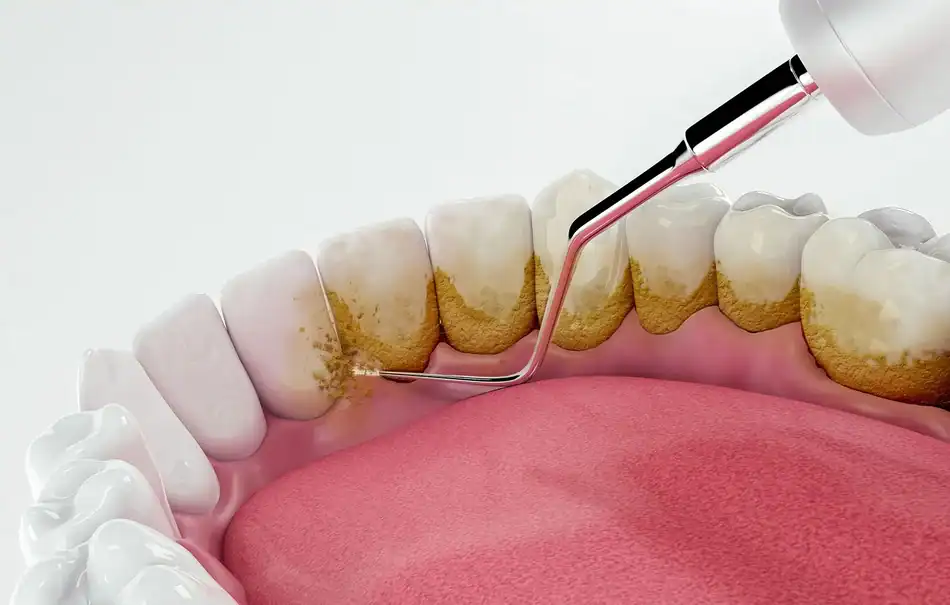
Guided by the mirror, the hygienist uses a scaler to eliminate plaque and tartar along the gum line and between teeth. You’ll hear scraping noises — this is normal. The greater the buildup, the longer they’ll need to work on particular areas.
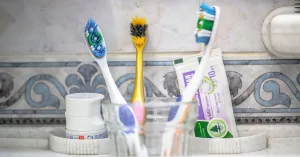
Regular brushing and flossing prevent plaque from accumulating and hardening into tartar. Once tartar forms, it must be removed professionally. If scraping is your least favorite portion of the appointment, the takeaway is to improve your home oral care.
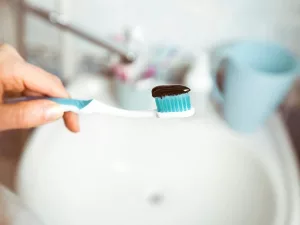
3. Gritty toothpaste cleaning
Once tartar is removed, the hygienist polishes your teeth with a high-speed electric brush that makes a grinding noise. Though it sounds intimidating, it’s an effective method to achieve a deeper clean and remove any residual deposits left after scaling.
Professional polishing uses a toothpaste-like paste that usually comes in various flavors. It has a gritty texture that gently buffs the tooth surfaces. Performed by a professional, this polishing is considered safe twice a year. Avoid overdoing abrasive scrubbing at home, as it can wear down enamel.
4. Expert flossing
Whether you floss daily or not, nothing replaces a professional flossing session. The dental hygienist can reach deep between teeth and identify any areas where your gums might bleed.
Even if you floss at home, professional flossing removes any lingering plaque or polishing paste left from earlier steps in the cleaning.
5. Rinsing
Afterwards, you rinse to clear away loosened debris. Typically, the hygienist will provide a rinse that contains a liquid fluoride solution.
6. Applying fluoride treatment
The final stage is a fluoride application. This protective treatment helps shield your teeth from cavities for several months.
The hygienist may ask which flavor you prefer, then place a foamy gel (or sometimes a thicker paste) into a mouth tray that fits over your teeth. It’s usually left in place for about a minute. Alternatively, fluoride varnish may be painted directly onto teeth with a small brush. Varnish hardens on contact with saliva, allowing you to eat and drink right away.
Other potential steps
Routine professional cleanings are typically scheduled every six months, while dental X-rays are commonly taken once a year. Depending on what the dentist or hygienist finds, additional exams or procedures may be performed during your visit. For children, the dentist might suggest molar sealants to protect hard‑to‑clean grooves from decay.
Whether extra steps are necessary or not, the important thing is returning for regular cleanings to prevent issues before they start. Knowing what to expect ahead of time can make the experience less stressful — and perhaps even something you don’t dread.


Leave a Reply
You must be logged in to post a comment.