How to Get Toned Arms: 7 Exercises

Pairing cardiovascular workouts and resistance training with a nutritious diet can assist in lowering overall body fat. This approach also enhances arm definition.
As much as we’d love a shortcut, you can’t target fat loss from one specific body area. Studies have demonstrated that machines or routines promising to eliminate love handles or trim thighs are misleading.
You can’t selectively burn fat from a single region just by exercising that spot alone.
That said, you can still slim and shape your arms — along with the rest of your body — by using the exercises below.
The American Council on Exercise recommends mixing cardio, strength work, and sensible eating to reduce body fat. The following moves will boost your heart rate, build arm strength, and support fat loss.
1. Arm slide
Arm slides are excellent for engaging the arms (particularly the triceps) and also recruit your entire core. The Mayo Clinic notes that core-focused movements like arm slides enhance balance, stability, and posture.
Equipment needed: Sliders, paper plates, or two small towels

- Kneel and place your hands on the sliders. Use a mat under your knees for comfort if you’re on a hard surface or have sensitive knees.
- Tighten your core by drawing your navel toward your spine.
- With a neutral spine and engaged core, slowly slide your hands forward until your chest approaches the floor.
- Pull your arms back toward your knees to return to the start without bending the elbows. Avoid arching your back as you retract. Maintain core engagement and a straight back throughout.
Tips
- Simplify the move by sliding one arm at a time.
- You don’t need to touch the chest to the floor to benefit. Go as low as you can while still being able to pull your hands back in with a straight spine. To increase difficulty, perform the slides from a plank position with knees off the ground.
2. Ball slams
This plyometric exercise offers explosive power without heavy impact. Ball slams engage the whole body, tire the arms, and add an aerobic element to your routine.
Equipment needed: Medicine ball or slam ball

- Stand feet hip-width apart and cradle the ball at your chest.
- Raise the ball overhead and slightly behind your head.
- Bend your knees and forcefully slam the ball into the ground.
- Retrieve the ball as it rebounds (or scoop it up) and lift it back overhead, using your legs to stand back up while keeping the spine straight.
- Proceed into the next repetition.
Tips
- Check the ball’s bounce before starting. It should be heavy enough to work but not so heavy that you can’t preserve a straight spine through the movement.
- Perform the exercise in a continuous, fluid manner. Use any slight rebound to help transition into the next rep to maintain heart rate and rhythm.
- Begin with as many reps as possible within a 20–30 second window for three to five rounds, allowing rest between sets.
- Stop when fatigue prevents you from safely keeping the ball overhead or maintaining spinal alignment.
The National Strength and Conditioning Association advises allowing 48 hours for recovery after plyometric sessions, so give your arms adequate rest between intense sessions.
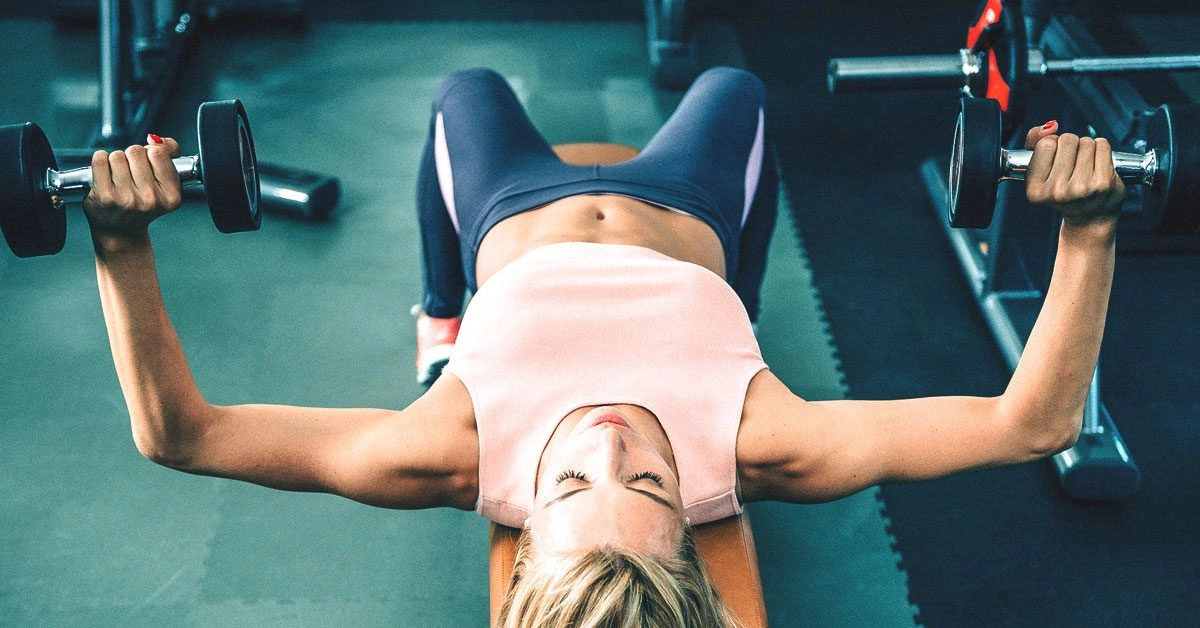
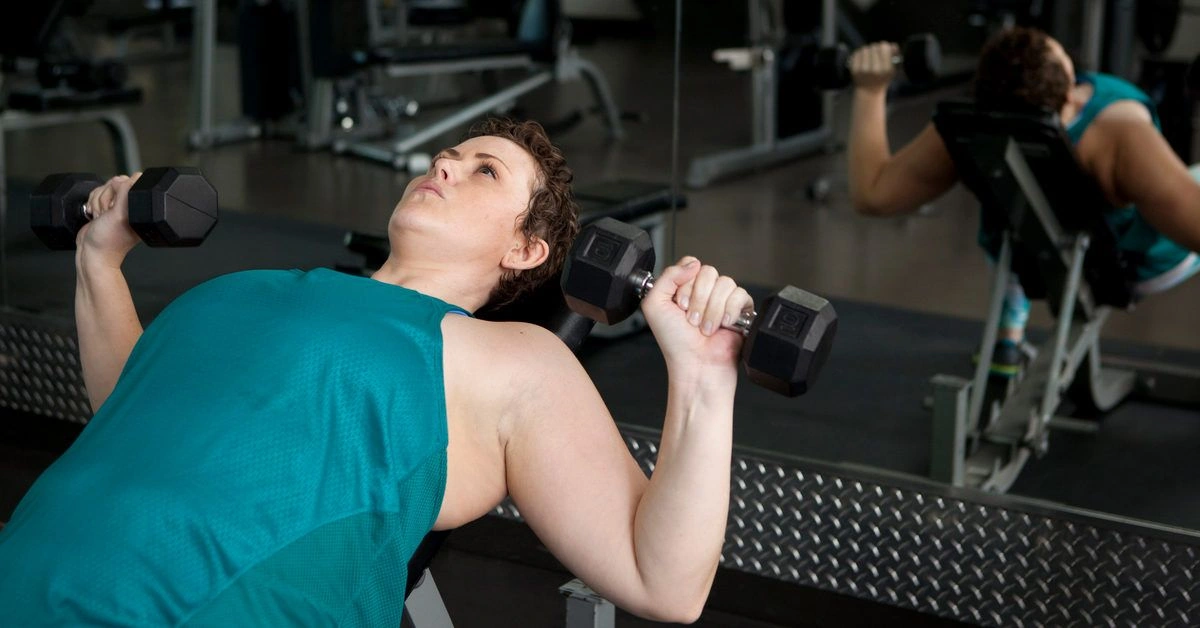
3. Dumbbell bench press
You don’t need massive weights to gain the benefits of a bench press.
The dumbbell bench press challenges the muscles and helps correct imbalances between your stronger and weaker arms. While primarily a chest exercise, it also engages the deltoids, triceps, and lats.
Equipment needed: Two dumbbells and a bench

- Lie flat on the bench with feet planted on the floor. If your feet don’t reach, place plates or a step under them for stability, or keep your feet on the bench.
- Maintain a neutral spine (a slight curve in the lower back) by engaging your core.
- Retract your shoulder blades and keep them slightly together. Your shoulders, hips, and head should remain in contact with the bench.
- Keep your arms close to your body as you press the dumbbells up. Hands should face forward or be at about a 45-degree angle.
- Lower the weights slowly to your chest with elbows tucked, keeping them tight to emphasize the triceps.
Tips
- If you don’t have a bench, perform the movement on the floor or on a stable step bench as an alternative.
4. Bicep curls with band
Equipment needed: Resistance band

- Stand on the band so it sits beneath the arch of your foot.
- Hold the band ends with palms facing forward and arms at your sides.
- Keep elbows tight to your ribs and curl your hands up toward your shoulders.
- Lower back down slowly to the starting position.
Tips
- Avoid swinging or leaning back to lift the hands. Keep the torso upright and still, moving only the arms.
5. TRX or supine barbell rows
This exercise targets your arms and the upper-back muscles that support better posture.
Equipment needed: TRX straps, low gymnastics rings, or an unloaded barbell and rack.

- Hold the handles and walk backward to create tension in the straps.
- Face the anchor point and step your feet so your body forms about a 45-degree angle. Grip the straps with palms facing forward.
- Brace your core as in a plank and keep your body aligned as you pull your chest toward the handles. Keep shoulder blades down and slightly pinched together.
- Lower back slowly to the start while maintaining a straight body line.
Tips
- Experiment with grip: palms toward your feet emphasizes triceps, palms toward your head emphasizes biceps.
- To make it easier, stand more upright by stepping feet closer to the anchor so you can maintain a straight spine without strain.
- To increase difficulty, walk your feet farther from the handles.
- If straps or rings aren’t available, use an empty barbell in a rack. Ensure your head is under the rack so you pull the bar back into the hooks rather than forward. Adjust bar height to modify difficulty.
6. Narrow push-up
Equipment needed: None.

- Begin in a plank with hands under the shoulders and fingers pointing forward.
- Lower with elbows tucked toward your sides, aiming them toward your feet. Keep shoulders, hips, and knees aligned as you lower your chest.
- Push back up to the start without arching the lower back. Hips and shoulders should rise together.
Tips
- To reduce difficulty, perform these from your knees or place weight plates or a step bench under your hands for elevation.
7. Battle ropes
Battle ropes torch calories, elevate cardiovascular fitness, and sculpt the arms simultaneously. They also challenge your core and shoulder stability.
Equipment needed: Battle ropes

- Stand with feet hip-width apart, knees slightly bent, and back straight.
- Grip the ropes and lift your hands together to create waves.
- Vary your tempo: faster hand motion produces short waves; slower, larger movements generate big waves.
- Aim to keep the ropes moving for 30 seconds across three rounds, resting between sets.
Tips
- Mix up patterns: short waves, long waves, simultaneous arm motion, alternating arms, and in-and-out or up-and-down movements.
- You can also slam the ropes to the ground in a manner similar to the ball slam.
The takeaway
These movements will build and define the muscles in your arms. They won’t selectively melt arm fat, but combined with overall fat-loss strategies they can reveal the tone you’ve developed.
Frequently Asked Questions
Results vary by starting point, diet, and workout consistency. Typically, you can notice improved muscle tone and strength within 4–8 weeks of regular training and proper nutrition.
No — spot reduction isn’t supported by research. Combining full-body cardio, strength training, and a calorie-controlled diet reduces overall body fat, which helps reveal arm definition.
Perform resistance and arm-specific work 2–3 times per week with rest days in between. Include cardio several times weekly to support fat loss and recovery.
No — many effective moves like narrow push-ups and arm slides require little to no equipment. Bands, dumbbells, or battle ropes can add variety and progressive overload.
Both approaches work. Use heavier weights with lower reps to build strength and moderate weights with higher reps or circuits to improve muscular endurance and calorie burn. Mix them for best results.
Related Posts
Which Is Better — Using Free Weights or Machines?
Sep 15, 2026 • 17 min read
8 Alternatives to Leg Curls
Sep 14, 2026 • 22 min read
Tire Workouts: What You Need to Know Before Starting
Sep 14, 2026 • 22 min read
The Best Alternatives to the Leg Press
Sep 18, 2026 • 8 min read
How to Use a Sled Push to Build Power, Speed, and Endurance
Sep 28, 2026 • 22 min read