So you’ve been dealing with persistent pelvic pain, heavy periods, or maybe even fertility challenges, and someone mentioned a pelvic MRI might be the answer. Quick answer: yes, a pelvic MRI is a safe, non‑invasive test that can spot endometriosis with impressive accuracy, often sparing you from an invasive laparoscopy. Below is everything you’ll want to understand – from how the scan works, to how to prepare, to what the images actually tell you – all laid out in a friendly, “let’s‑talk‑over‑coffee” style.
How MRI Detects
What the scan looks for
The MRI machine is basically a super‑powered camera that sees the difference between water, fat, and blood. Endometriosis shows up in three classic ways:
- Endometriomas – those “chocolate cysts” on the ovaries appear bright on T1‑weighted fat‑suppressed images and often have a dark, “shaded” look on T2 (the famous “T2 shading”).
- Deep infiltrating lesions – these are fibrotic, so they look dark on T2 and can involve ligaments, the rectosigmoid colon, bladder, or the uterosacral ligaments.
- Ancillary signs – a dilated fallopian tube full of blood (hematosalpinx), adhesions that pull tissues together, or even hydronephrosis if the ureters are kinked.
Sensitivity and specificity
Multiple studies show MRI detects deep infiltrating endometriosis with ≈ 90 % sensitivity and ≈ 95 % specificity. According to the ESUR guideline (2016), MRI is now considered the gold‑standard non‑invasive test for mapping disease extent.
MRI vs. laparoscopy
| Aspect | MRI | Laparoscopy |
|---|---|---|
| Invasiveness | Non‑invasive, no incision | Surgical, requires anesthesia |
| Accuracy (detecting DIE) | 88‑95 % sensitivity | 95‑100 % (direct visualization) |
| Whole‑pelvis overview | Yes – visualizes ovaries, bladder, rectum | Limited to inspected areas |
| Cost | Moderate to high (depends on region) | Higher (OR time, recovery) |
| Recovery time | None | Days to weeks |
Visual snapshot
If you skim through the pictorial review by Sud et al. (2021), you’ll see striking examples of ovarian endometriomas and deep infiltrating lesions (open‑access). Those images are gold for understanding what radiologists are looking for.
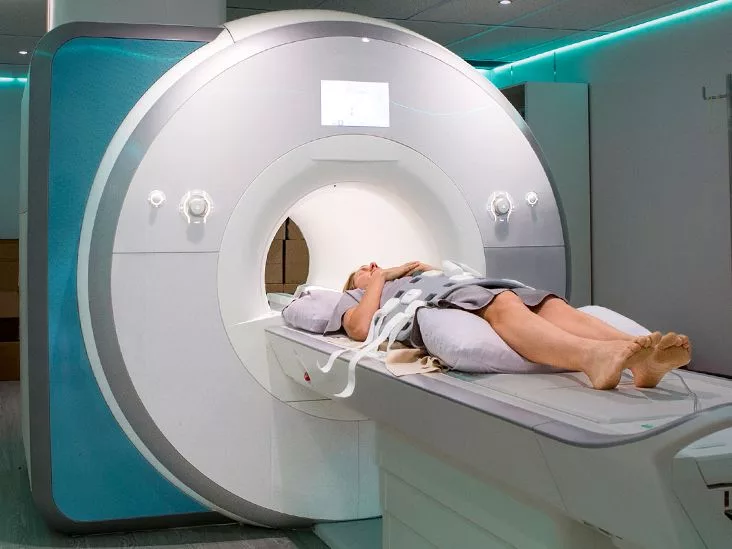
Preparing for Scan
Timing matters
Schedule your MRI during the mid‑cycle (days 7‑14) when hormonal levels make lesions most conspicuous. Your doctor will usually suggest this window.
What to wear and bring
- Metal‑free clothing – no zippers, belts, or jewelry (except a simple wedding band).
- A partially full bladder if you’re getting a pelvic protocol – it pushes the bowel out of the way.
- Any implant information (pacemakers, cochlear implants) – safety first!
Medications and contrast
Most pelvic MRIs don’t need gadolinium; the high‑resolution T2 and T1‑fat‑suppressed sequences are enough. However, if the radiologist suspects a complicated mass, they might give a small dose of gadolinium or an antispasmodic like Buscopan to reduce bowel motion (see the Pelvic Pain Support Network for details).
Checklist (print‑friendly)
Before you head out, tick these boxes:
- Confirm the scan date is in the mid‑cycle.
- Wear loose, metal‑free clothing.
- Drink 1‑2 glasses of water 30 minutes before arrival (if a full bladder is requested).
- Bring a list of any implants or allergies.
- Inform the technologist about current medications.
Key MRI Findings
Ovarian endometrioma
On T1‑fat‑suppressed images, endometriomas shine like a candle in the dark. The classic “shading” on T2 helps differentiate them from hemorrhagic cysts or mature teratomas.
Deep infiltrating endometriosis (DIE)
DIE can involve:
- Uterosacral ligaments – often a thickened, low‑signal band.
- Rectosigmoid colon – a “mushroom” or “pseudonodular” appearance.
- Bladder wall – a focal thickening that may cause urinary urgency.
- Cul‑de‑sac (pouch of Douglas) – small nodules that pull the peritoneum inward.
Ancillary signs
Sometimes the lesion itself is tiny, but the surrounding reaction gives it away: adhesions appear as tethered loops of bowel, and a hydronephrotic kidney signals ureteral involvement.
Common pitfalls
Not every bright spot is endometriosis. Hemorrhagic cysts, mucinous tumors, or even normal ovarian follicles can mimic an endometrioma. Radiologists rely on the combination of T1‑FS brightness, T2 shading, and lesion morphology – a skill honed by experience (see Siegelman & Oliver, 2012 for a “pearls” list).
Benefits and Risks
Benefits
- Non‑invasive – no incision, no radiation.
- Comprehensive mapping – sees everything in one go, crucial for surgical planning.
- Detects extra‑pelvic disease – endometriosis can hide in the diaphragm or even the thorax; MRI can spot it.
- Reduces diagnostic delay – many women wait years for a correct diagnosis; an MRI can cut that timeline.
Risks / Limitations
- Claustrophobia – the tunnel can feel tight, but many centers offer open‑MRI or mild sedation.
- Cost and availability – not every clinic has a high‑resolution pelvic protocol.
- Gadolinium concerns – used rarely, but if you have severe kidney disease, it’s avoided.
- Superficial peritoneal implants may be missed – a laparoscopy still has the final word when histology is needed.
What about a “non‑invasive endometriosis test”?
Researchers are exploring blood markers (CA‑125, microRNA panels) and ultrasound techniques, but none yet match the spatial detail of MRI. For now, MRI remains the most reliable non‑surgical road‑map.
Real‑World Stories
Case study: Maya, 28
Maya suffered from crippling dysmenorrhea for three years. Multiple ultrasounds were inconclusive. Her gynecologist ordered a pelvic MRI during the mid‑cycle. The scan revealed a 3 cm ovarian endometrioma and a 1.5 cm lesion on the left uterosacral ligament. Because the disease was mapped, the surgeon could plan a targeted excision, and Maya avoided a full‑bladder dissection. She recovered in a week and reports a 70 % reduction in pain.
Expert insight
“We typically recommend MRI when a patient has persistent pain plus suspicious ultrasound findings, or when fertility planning is underway,” says Dr. A. Kido, a pelvic radiology specialist at Kyoto University Hospital (2022). “The key is a dedicated protocol – thin‑slice T2, fat‑suppressed T1, and sometimes diffusion weighted imaging – which gives us the confidence to guide surgery.”
Lessons learned
- If pain is severe and persists > 6 months, ask about a pelvic MRI.
- Request a “high‑resolution pelvic protocol” – not all MRIs are created equal.
- Bring a copy of the radiology report to your surgeon; it makes the operative plan smoother.
Your Next Steps
Talk to your gynecologist
Ask for a pelvic MRI for endometriosis and explicitly request the high‑resolution protocol (thin 3 mm T2, T1‑FS, optional diffusion). If you’re unsure, say, “I’d like the most accurate imaging to understand the extent of my disease before deciding on treatment.”
Use the preparation checklist
Review the checklist above a day before your appointment. A well‑prepared scan yields clearer pictures, which means a clearer diagnosis.
Review the report with an expert
Not all radiologists specialize in pelvic disease. If possible, ask for a radiologist experienced in endometriosis (the ESUR guideline recommends at least 3 years of pelvic MRI interpretation). This adds an extra layer of trust.
Plan treatment based on MRI findings
Depending on what the MRI shows, options may include:
- Hormonal therapy (oral contraceptives, progestins, GnRH analogues) for mild disease.
- Targeted laparoscopic excision for deep infiltrating lesions.
- Assisted reproductive techniques if fertility is a concern, guided by the extent of ovarian involvement.
Stay empowered
Knowledge is power. Knowing that a non‑invasive test can give you a detailed map of the disease means you can have a more informed conversation with your doctor and avoid unnecessary procedures. If you have questions, don’t hesitate to ask your care team – they’re there to help you navigate this journey.
What’s your experience with pelvic MRI for endometriosis? Have you found the preparation steps helpful? Share your thoughts in the comments; together we can make this path a little less daunting for everyone.


Leave a Reply
You must be logged in to post a comment.