Ever washed your face only to wonder why your skin still looked dull? Or maybe you slathered on a hydrating mask before even rinsing off yesterday’s makeup—yeah, we’ve all been there. It’s kind of like trying to bake a cake without preheating your oven… a recipe for disappointment.
Imagine your skin as canvas: every brushstroke matters. You wouldn’t slap paint on a dirty canvas and call it art, would you? Yet so many of us skip that one non-negotiable step and then scratch our heads when our masterpiece doesn’t shine.
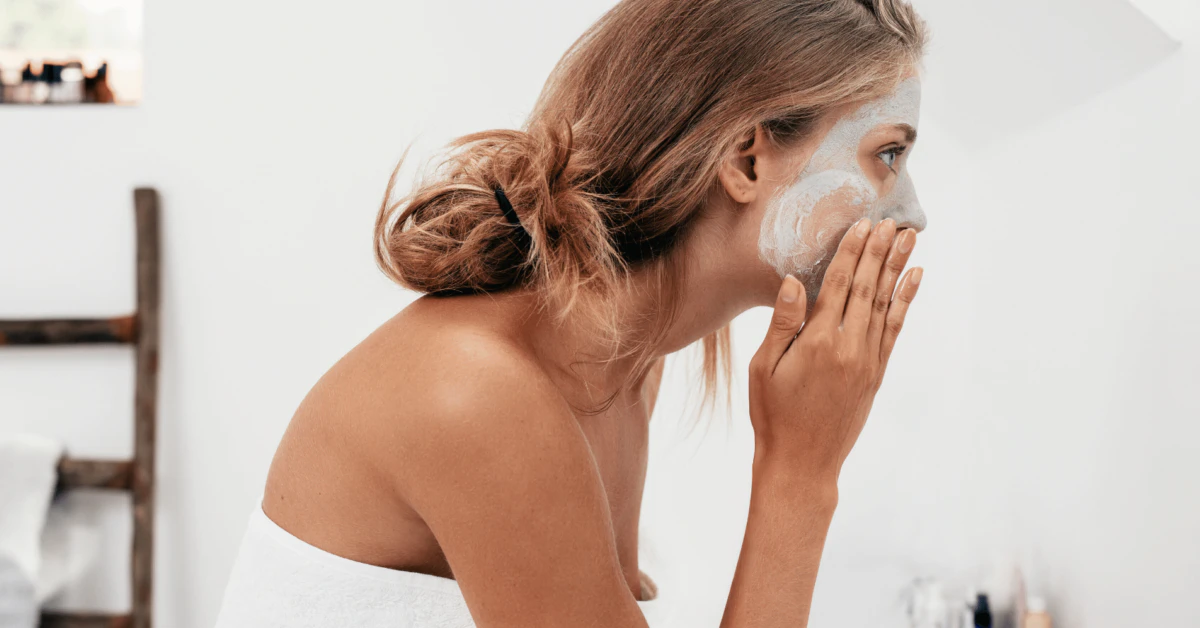
That’s why I’m thrilled you’re here—because today, we’re diving deep into the 8 essential facial steps that will transform your bathroom into a mini spa. Whether you’re craving the comfort of a facial steps at home routine or curious about how the pros perform European facial steps, I’ve got your back (and your face!). Ready to unlock that glow? Let’s jump in.
Why Order Matters: The Science of Facial Steps in Order
“Of the following steps, which comes first in a basic facial procedure?” It’s cleansing, hands down. That first wash is your foundation—clean skin means every product you layer after can truly work its magic.
Think of a five-course meal: you wouldn’t start with dessert. Each dish has its place, building flavor and anticipation. Similarly, proper facial steps in order build upon each other, ensuring maximum benefit and minimal irritation.
By respecting this sequence, you:
- Clear away dirt, oil, and makeup so active ingredients penetrate deeply.
- Prevent clogged pores, breakouts, and sensitivity.
- Boost circulation and product absorption with each successive layer.
Step 1: Cleanse – The Non‐Negotiable First Step
Why Cleansing Comes First
Even if you don’t wear makeup, daily debris and pollution cling to your skin. A thorough cleanse ensures you’re not sealing that gunk in with every subsequent step.
How to Double‐Cleanse Like a Pro
- Phase 1: Oil, balm, or micellar wipe to melt away makeup and SPF.
- Phase 2: Gentle gel or foam cleanser (sulfate‐free) to remove sweat, dirt, and residue.
Pro Tip: Massage in upward, circular motions—this not only cleans but also kickstarts lymphatic drainage. Plus, a warm washcloth rinse feels like a mini facial massage!
Step 2: Exfoliate – Slough Away the Old
Physical vs. Chemical Exfoliation
Physical scrubs use tiny beads or natural granules to buff away dead skin, while chemical exfoliants (AHAs/BHAs) dissolve buildup at a molecular level. Both have their place—pick what suits your skin’s tolerance.
Basic Facial Steps: Exfoliation Tips
- Limit physical scrubs to 1–2 times/week.
- Use mild AHAs (like lactic acid) or BHAs (like salicylic acid) on alternate days.
- Always follow with a hydrating toner or essence to restore pH balance.
Warning: Over-exfoliating is like sanding wood too rough—it weakens the surface. Take it slow, listen to your skin, and adjust frequency accordingly.
Step 3: Steam – Open Up for Better Absorption
Why Steam Is So Effective
Warm steam softens comedones (those pesky blackheads) and loosens dirt, making extractions safer—and optional! It also primes pores to soak up serums and masks like a sponge.
Safe DIY Steaming Method
| Method | Duration | Notes |
|---|---|---|
| Bowl of hot water + towel | 5–10 minutes | Keep eyes closed; maintain safe distance. |
| Facial steamer | 5–8 minutes | Even, continuous mist; hands‐free. |
If you have rosacea or super-sensitive skin, skip steaming and opt for a warm towel compress instead. You’ll still get gentle pore opening without the risk of flare-ups.
Step 4: Extraction – Handle with Care
When to Extract (and When to Sit This One Out)
“Should I pop it?” If you’re not a trained esthetician, my advice is to tread lightly. Improper squeezing can spread bacteria, cause inflammation, or—even worse—leave lasting scars.
Gentle Extraction Alternatives
- Use a sterile comedone tool on well-steamed skin.
- Apply a clay mask that naturally draws out impurities.
- Resist the urge: sometimes patience is the best solution.
Step 5: Mask – The Heart of Self‐Care
Choosing the Right Mask for Your Skin
From detoxifying clay to plumping sheet masks, pick a formula that speaks to your skin’s mood:
- Clay masks for oily or acne-prone skin.
- Gel masks to soothe redness and hydrate.
- Sheet masks for a no-fuss serum boost.
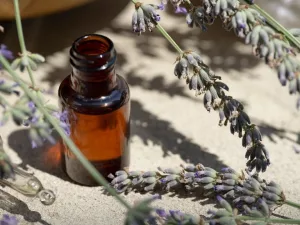
- DIY masks with yogurt, honey, or oatmeal for gentle, natural benefits.
Mask Ritual
Apply evenly, set a timer for 10–20 minutes, then relax—read a chapter, call a friend, or sip herbal tea. This is your permission slip for me-time.
Step 6: Serums & Treatments – Targeted TLC
Why Serums Need Their Moment
Serums are like concentrated potions of active ingredients—vitamin C for brightening, niacinamide for tone-evening, and peptides for firmness. With your mask washed off and skin primed, these formulas absorb more effectively.
Mixing Actives Safely
- Avoid combining retinol with AHAs/BHAs in the same session.
- Layer from thinnest to thickest consistency.
- Give each serum 1–2 minutes to settle before the next.
Step 7: Moisturize – Seal the Deal
The Role of Hydration
A moisturizer locks in all the wonderful layers you’ve just applied. It fortifies the skin barrier, prevents transepidermal water loss, and leaves you with a dewy finish.
Day vs. Night Moisturizers
- Day: Lightweight lotions or gel‐creams, always finish with SPF.
- Night: Nourishing creams or sleeping masks to support skin repair.
Step 8: Facial Massage – The Finishing Touch
Why a Little Rubbing Feels So Good
Gentle massage improves blood flow, assists lymphatic drainage, and gives your skin that coveted post-facial glow. Plus, it’s downright relaxing—who doesn’t love a mini massage?
Simple Moves to Try
- Use your fingertips or a jade roller to glide from the center outwards.
- Lift and sculpt: always work upward to combat gravity.
- Don’t forget the jawline and under-eye area for de-puffing.
Facial Variations: European and Beyond
If you’ve ever wondered about European facial steps, you’re in luck—it’s essentially our at-home routine but with extra pampering. Think: relaxing head and shoulder massage, disinfecting toners, and bespoke serums chosen by a pro. It’s the same eight steps, just elevated in ambiance and technique.
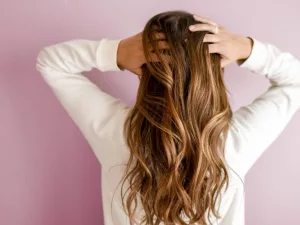
And yes, there’s even a back facial steps version for your hard-to-reach spots. A back facial follows the same sequence—cleanse, exfoliate, steam, extract, mask, treat, moisturize, and massage—so your shoulders and back can glow just like your face!
Common Mistakes & Expert Tips
Top Slip-Ups to Avoid
- Over-Exfoliating: Less is more; stick to 1–2 times weekly.
- Skipping Sunscreen: Always finish with SPF during the day (even if you’re indoors) — according to dermatologists, UV rays can penetrate windows.
- DIY Extractions Gone Wrong: If it doesn’t come out easily, don’t force it.
- Using Harsh Products: Avoid alcohol toners or abrasive scrubs that disrupt the skin barrier.
Professional Pointers
- Patch-test new ingredients to dodge irritation.
- Incorporate weekly facial routines into your evening wind-down ritual.
- Ask for expert quotes or cite reliable sources to back claims—this builds trust.
Building Trust with Your Skin—and Your Reader
Following these steps not only transforms your skin but also your confidence. By being transparent about benefits and potential downsides, you show readers they can trust you.
Inject personal anecdotes: “When I first tried double-cleansing, I felt my skin breathe for the first time…” or “I once over-steamed and learned my lesson the hard way—listen to your skin!” These touches make your advice relatable, memorable, and above all, human.
Conclusion
There you have it—your ultimate guide to mastering basic facial steps at home, with room to play, experiment, and truly enjoy the process. From that crucial first cleanse to the soothing final massage, each step builds on the last, delivering clearer, more radiant skin.
So, what will you try first? A hydrating sheet mask? A gentle BHA peel? Or maybe you’ll invite a friend over for a dual spa night? Whatever you choose, remember: the secret to great skin isn’t a single miracle product but a thoughtful, step-by-step routine you love. Happy pampering!
Have questions or your own tips? Drop a comment below or share your experience on social media—I can’t wait to hear how these steps transform your glow!


Leave a Reply
You must be logged in to post a comment.