Hip thrusts are an effective way to fortify your glutes and hamstrings. Execute this move with correct foot placement and a full range of motion to reap the advantages.
If your aim is to increase the size and power of your posterior, the hip thrust should be included in your training plan.
A bent-knee hip extension performed with your upper back supported on an elevated surface, the hip thrust is popular among lifters for its targeted work on the posterior chain — particularly the gluteus muscles — in a distinctive manner.
Which muscles are engaged?
The hip thrust primarily activates the glutes — including the gluteus maximus and gluteus medius — along with the hamstrings. Your quadriceps, core musculature, and hip adductors also contribute during the movement.
Why do them?
Hip thrusts develop glute strength and hypertrophy in a way many other moves don’t, and specialists concur that they offer advantages for a wide range of people, from athletes to seniors over 65.
Glute strength is crucial for stabilizing your core, pelvis, and lower extremities. A lack of it increases the likelihood of knee pain, lower-back discomfort, and other injuries.
Well-developed glutes also support athletic skills such as jumping, sprinting, and rapid directional changes. Overall, strong glutes are fundamental to solid mobility. And a bonus benefit? A firmer, more lifted rear.
How to perform a hip thrust
Use these directions to execute a hip thrust:
- Position your upper back against an elevated surface (such as a bench or box) with knees bent and feet flat on the floor.
- The bench should sit just below your shoulder blades, and your feet should be roughly shoulder-width apart. You may rest your elbows on the bench for support.
- With your chin tucked, drive through your heels until your thighs are parallel to the ground — your legs should form a 90-degree angle.
- Contract your glutes at the top, then lower back to the starting position.
If you’re new to this, shoot for 3 sets of 12 repetitions, progressing toward 20 reps using bodyweight.
From there, advance the exercise by trying a single-leg variation or safely loading the movement with a barbell, plate, or dumbbell — details below.
Note that hip thrusts resemble glute bridges, but they are not identical.
Although the motion is similar, glute bridges are done on the floor and tend to involve the quads more and the hamstrings less than hip thrusts.
How to include them in your program
Hip thrusts make a valuable addition to a full-body session or a lower-body–focused workout day.
If you pair hip thrusts with other leg moves like squats and deadlifts, ensure you allow adequate recovery for your legs between sessions.
As with all strength work, warm up properly first. Five to ten minutes of moderate cardio followed by dynamic mobility drills is sufficient.
Common form errors to avoid
There are several technique details to be mindful of when doing hip thrusts.
Not using the full range of motion
Stopping short of thigh-parallel means the glutes won’t reach full activation. Aim to create roughly a 90-degree angle at your hips and knees to ensure full engagement.
Improper foot positioning
Feet placed too far forward will shift emphasis to the hamstrings. Feet too close to your body will recruit more quads.
As with Goldilocks, find the foot position that feels “just right” so the glutes are the primary drivers.
Lower back not neutral
If your ribs flare up and your lower back arches (hyperextends) at the outset, you won’t get full hip extension for optimal glute activation.
Keep your ribs down and maintain a neutral lumbar spine to allow full hip extension.
Rising onto the toes
Some lifters lift onto the balls of their feet at the top of the thrust. This usually stems from incorrect foot placement or quad dominance.
Reposition your feet so your legs form a 90-degree angle at the top, and concentrate on driving through the heels throughout the motion.
Can you add resistance?
Once bodyweight hip thrusts feel manageable, incorporate added load in the ways below:
Using a dumbbell or weight plate
Place a dumbbell or weighted plate gently on your hip bones while performing the thrust.
Using a barbell
There are several ways to load a barbell.
If you have Olympic-sized plates, you can roll the bar over your feet into position.
If the barbell is lighter, a training partner can help place it on your hips, or you can deadlift it, sit on the bench, and then assume the starting position.
Whichever method you choose, the bar should sit in the hip crease with your hands on either side to steady it during the lift.
Using a hip-thrust machine
Specialized benches make it straightforward to perform hip thrusts with a barbell or resistance bands and require minimal setup.
If you begin using heavier loads, you may feel discomfort where the bar contacts your hips. Use a bar pad or roll up a mat or towel to cushion your hips and reduce soreness.
Variations to try
Mix up your training with these hip-thrust variations to keep progressing and stay engaged.
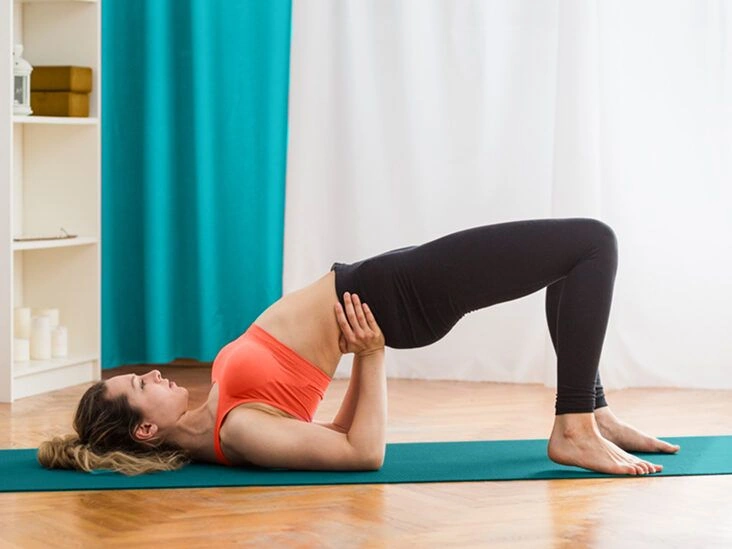
Glute bridge
As noted earlier, glute bridges and hip thrusts are alike but emphasize different muscle groups.
Do a glute bridge with your upper back on the floor rather than elevated.
If you sense excessive quad involvement with hip thrusts, the glute bridge can help you better isolate the glutes.
Single-leg hip thrust
A more advanced progression: straighten one leg and hold it at about a 45-degree angle while executing the thrust.
Hip thrust with elevated feet

Use a second bench or a box of similar or slightly higher height and perform the hip thrust with your feet elevated.
This increases the range of motion compared with a standard hip thrust — aim to descend lower than you would when your feet are on the ground.
Final thoughts
When executed correctly, hip thrusts rank among the best moves to grow and strengthen your glutes. The good news: they’re accessible to most people. If you haven’t yet, give hip thrusts a try.


Leave a Reply
You must be logged in to post a comment.