Okay, let’s start with something weird: did you know people used to rub tea bags on their skin to fake a tan? I mean, imagine the mess. The smell. The stains. But hey, desperate times, right? Thankfully, we’ve come a long way since the days of kitchen experiments and orange palms. Now, you can get that sun-kissed look—without the sunburn, the streaks, or the “why are your knees so orange?” questions—if you know what you’re doing.
But let’s be real: the world of self-tanning is a jungle. There are lotions, mousses, drops, wipes, sprays, and about a million brands all promising you’ll look like you just got back from a week in the Maldives. If you’re a beginner, it’s easy to feel lost. Maybe you’re worried about streaks, or you have fair skin with freckles and you’re terrified of looking like a Cheeto. Or maybe you just want something affordable that won’t make you break out. I get it. I’ve been there. And I promise, you can do this.
So, let’s talk about the best self-tanner for beginners. I’ll walk you through what actually works, what’s safe, and how to avoid looking like a zebra. Ready? Let’s dive in—no tea bags required.
Why Self-Tanning? The Real Benefits (and Risks) for Beginners
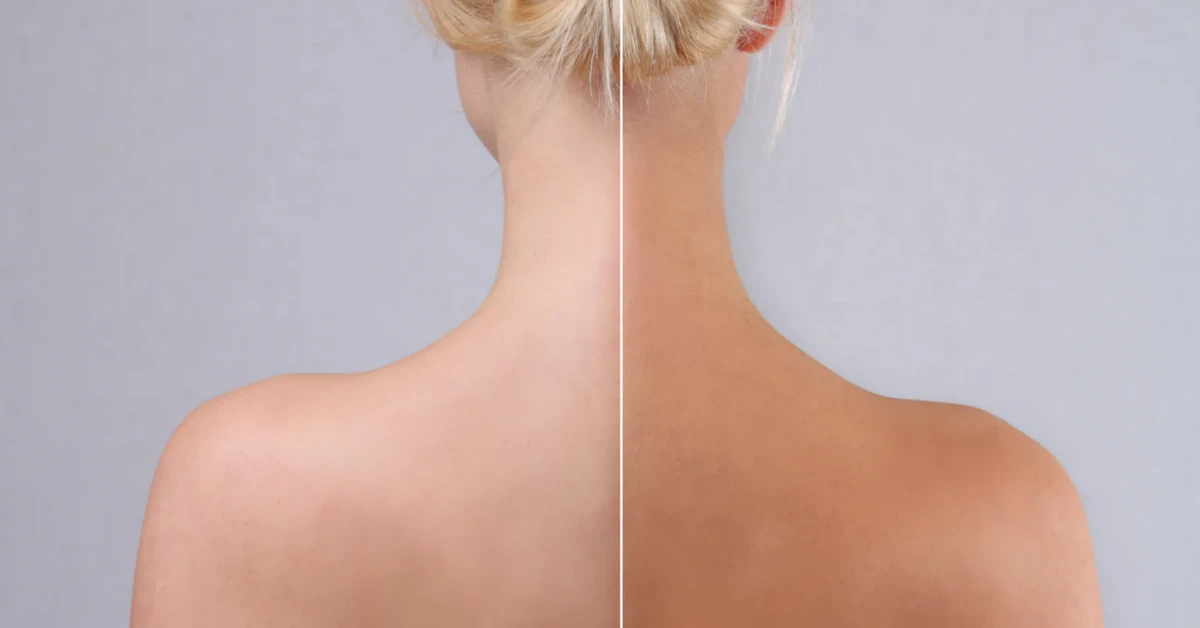
First things first: why even bother with self-tanner? Well, for starters, it’s a whole lot safer than baking in the sun. We all know the risks of UV exposure—wrinkles, sunburn, and, yeah, the big C (skin cancer). Self-tanning lets you skip all that and still get that healthy, just-back-from-vacation glow.
But, like anything, there are a few things to watch out for. Some people get a little itchy or break out if they use the wrong product. And if you’re not careful, you might end up with streaks, patches, or that dreaded orange tint. (Been there, done that, wore long sleeves for a week.)
So, what’s the secret? It’s all about picking the right product for your skin and following a few simple steps. And don’t worry—I’ll share some real-life stories and tips so you can avoid the rookie mistakes I made.
What Makes Self-Tanning Safer Than Sunbathing?
Here’s the deal: self-tanners use an ingredient called DHA (dihydroxyacetone), which reacts with the top layer of your skin to create a tan-like color. No UV rays, no damage. According to the American Academy of Dermatology, self-tanners are generally safe when used as directed. Just don’t inhale or eat them (seriously, don’t).
Are There Any Health Risks or Side Effects for First-Time Users?
Most people do just fine, but if you have sensitive skin, you might want to do a patch test first. Some self-tanners have fragrances or other ingredients that can irritate your skin. And if you have allergies, always check the label. If you’re super fair or have freckles, you might want to look for products made just for you—more on that in a bit.
Real-World Experiences: Common Beginner Mistakes and How to Avoid Them
Let me tell you about my first time. I was in college, broke, and desperate for a tan before spring break. I grabbed the cheapest bottle I could find, slathered it on, and… well, let’s just say I learned the hard way that exfoliating first is not optional. My elbows looked like tiger stripes. So, trust me: prep your skin, take your time, and don’t skip the instructions. You’ll thank me later.
How to Choose the Best Self-Tanner for Beginners
Alright, so you’re ready to take the plunge. But how do you pick the best self-tanner for beginners? There are so many options, it can feel like trying to pick a favorite ice cream flavor at a shop with 100 choices. (And let’s be honest, you want to try them all.)
What Should Beginners Look for in a Self-Tanner?
If you’re new to this, look for products labeled “gradual” or “for beginners.” These are usually more forgiving and build color slowly, so you’re less likely to end up with streaks or a color that’s way too dark. Mousse and lotion formats are usually the easiest to control. And if you’re worried about your face, look for a self-tanner that’s dermatologist recommended for sensitive skin.
Is Organic Tanning Lotion Better for Sensitive or Fair Skin?
Organic tanning lotions are having a moment, and for good reason. If you have sensitive skin or just want to avoid harsh chemicals, the best organic tanning lotion can be a great choice. They often use plant-based ingredients and skip the synthetic fragrances that can cause irritation. Just remember, “organic” doesn’t always mean “perfect for everyone,” so always patch test first.
How to Pick the Right Format: Lotion, Mousse, Drops, or Wipes?
This is where things get personal. Lotions are super hydrating and great for dry skin. Mousses dry quickly and are easy to blend. Drops can be mixed with your moisturizer for a custom glow. Wipes are mess-free and perfect for travel. If you’re a beginner, I’d say start with a gradual lotion or mousse—they’re the most foolproof.
Comparison Table: Best Self-Tanners for Beginners
| Product | Best For | Key Features | Price Range |
|---|---|---|---|
| Jergens Natural Glow | Best affordable self tanner, beginners | Gradual, hydrating, easy to find | $ |
| St. Tropez Self Tan Mousse | Best self-tanner for pale skin beginners | Lightweight, fast-drying, natural color | $$ |
| Beauty by Earth Self Tanner | Best organic tanning lotion | Organic, non-toxic, gentle on skin | $$ |
| Tan-Luxe The Face Drops | Best self-tanner for face dermatologist recommended | Customizable, dermatologist tested, non-comedogenic | $$$ |
| Bondi Sands Pure Self Tanning Drops | Best self-tanner for fair skin with freckles | Fragrance-free, gentle, buildable | $$ |
Remember, the “best” self-tanner for beginners is the one that fits your skin type, your budget, and your comfort level. Don’t be afraid to experiment a little—just maybe not the night before a big event!
Step-by-Step Guide: How to Apply Self-Tanner Like a Pro
Okay, you’ve got your product. Now what? Here’s where the magic (and a little bit of science) happens. Applying self-tanner isn’t rocket science, but there are a few tricks that can make all the difference.
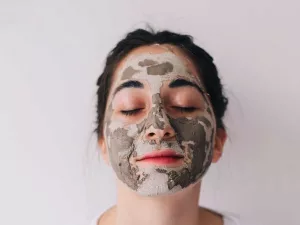
Prepping Your Skin: Exfoliation, Moisturizing, and Patch Testing
This is the step most people skip—and then regret. Exfoliate your skin the night before you tan. Use a gentle scrub or a washcloth to get rid of dead skin cells, especially on elbows, knees, and ankles. Dry patches soak up more tanner and can turn darker than the rest of your skin. After exfoliating, moisturize those tricky spots. And if you’re trying a new product, do a patch test on a small area to make sure you don’t react.
Application Tips for a Streak-Free, Natural-Looking Tan
Here’s my go-to routine: Start with clean, dry skin. Use a tanning mitt (trust me, your hands will thank you). Work in sections—legs, arms, torso—using circular motions. Don’t use too much product at once; you can always add more. When you’re done, use a damp washcloth to gently wipe your knees, elbows, and ankles. These areas grab color fast, so a little blending goes a long way.
Special Tips for Face, Hands, and Feet (Trouble Spots)
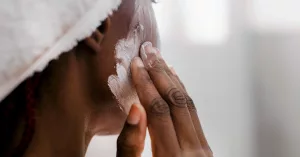
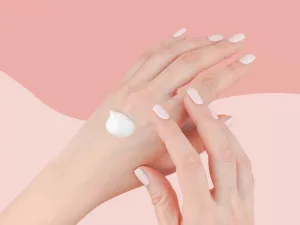
Your face is delicate, so use a self-tanner made for faces—ideally, one that’s dermatologist recommended. Mix a drop or two with your moisturizer for a subtle glow. For hands and feet, use what’s left on your mitt after you’ve done your body. Less is more. And don’t forget to wash your palms right after!
Personal Anecdotes: First-Time Application Stories and Lessons Learned
I’ll never forget my first attempt at self-tanning my face. I used way too much, didn’t blend into my hairline, and ended up with a weird orange halo. My roommate laughed so hard she cried. Lesson learned: start light, blend well, and don’t rush. If you mess up, it’s not the end of the world—most mistakes fade in a few days, and there are ways to fix streaks (like exfoliating or using a tan remover).
Expert Advice: Dermatologist and Pro Tips for Beginners
Let’s get a little science-y for a second. Dermatologists agree: self-tanners are a safer alternative to sunbathing, but you still need to be smart about it. If you have fair skin, freckles, or sensitive skin, look for products that are fragrance-free and labeled as non-comedogenic (won’t clog pores). And always, always patch test new products.
What Do Dermatologists Recommend for Sensitive or Fair Skin?
According to Harvard Health, people with fair skin or freckles should choose gradual tanners and avoid products with a lot of added fragrance or alcohol. The best self-tanner for fair skin with freckles is usually a lotion or drop that lets you build color slowly. And if you’re worried about breakouts, look for a self-tanner for face that’s dermatologist recommended and oil-free.
How to Maintain and Extend Your Tan Safely?
Once you’ve got your glow, you want it to last, right? Keep your skin moisturized—dry skin sheds faster, which means your tan will fade quicker. Avoid long, hot showers and harsh soaps. And if you want to top up your color, use a gradual tanner every few days. Just remember, self-tanner doesn’t protect you from the sun, so keep using sunscreen!
Citing Credible Sources: Studies, Expert Quotes, and Product Safety Data
There’s a lot of hype out there, but the science is pretty clear: self-tanners are safe when used as directed. If you want to geek out, check out this study on DHA safety—it’s a little technical, but it’s good to know what you’re putting on your skin. And if you ever have questions, don’t be shy about asking your dermatologist. They’ve seen it all.
Conclusion: Your First Glow—No Regrets, Just Confidence
So, here’s the bottom line: starting with self-tanner doesn’t have to be scary. With the right product, a little patience, and a few pro tips, you can get that healthy, radiant glow—no sun damage, no drama. The best self-tanner for beginners is the one that fits your skin, your budget, and your comfort level. Take it slow, trust the process, and don’t be afraid to experiment. If you mess up, laugh it off and try again. We’ve all been there.
What do you think? Have you tried self-tanning before, or are you just starting out? Share your stories, your questions, or your best (and worst) tanning moments below. If you have any questions, don’t hesitate to ask! Let’s glow together—one streak-free tan at a time.


Leave a Reply
You must be logged in to post a comment.